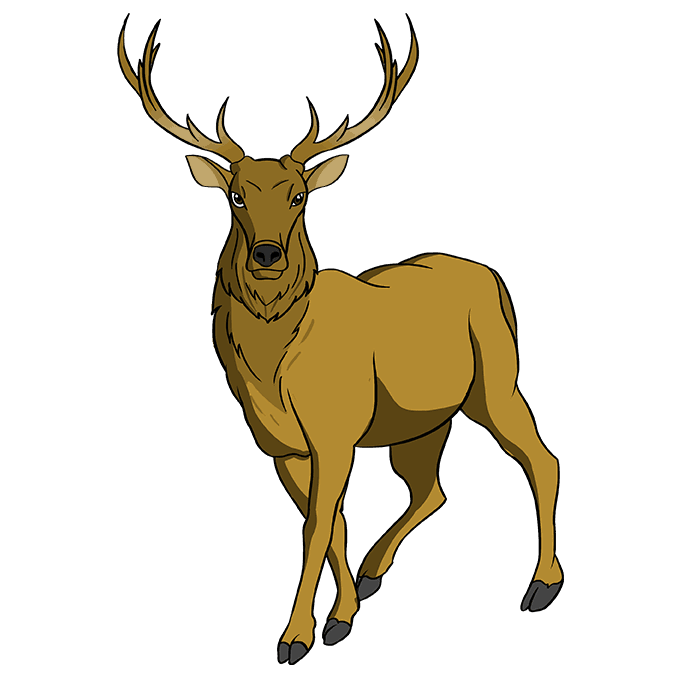
How to Draw an Elk
Improve Your Drawing Skills with Printable Practice Sheets!
Learn how to draw a great looking Elk with easy, step-by-step drawing instructions, and video tutorial. You can now easily create a beautiful Elk drawing.

Jump to the step-by-step instructions.
"Hippity hoppity, look at the wapiti!"
- Children's rhyme
The elk, also called the wapiti, is the second-largest deer in North America, weighing 500 to 1,000 pounds. It is also the most vocal with a loud, bugling call.
The elk's other name, wapiti, is a Shawnee or Native American word meaning "white rump." The term "elk" is actually a misidentification, the German word for moose.
Scroll down for a downloadable PDF of this tutorial.
Would you like to draw a wild cartoon elk? This easy, step-by-step cartoon animal drawing guide is here to show you how. All you will need is a pencil, an eraser, and a sheet of paper.
If you liked this tutorial, see also the following drawing guides: Llama, Bull, and Deer.

Click HERE to save the tutorial to Pinterest!
Step-by-Step Instructions for Drawing an Elk


1. Begin by drawing a circle. This will help you to draw the elk's head.

2. Erase the bottom of the circle. Use curved lines to draw a shape like a trapezoid, with rounded corners and an open top, beneath the circle. Connect the open ends of the circle to this shape using curved lines. This forms the elk's snout. Draw a rounded shape at the tip of the snout to indicate the nose. Draw a curved line across the top of the nose, and shade two teardrop shapes to indicate the nostrils. Finally, draw an inverted trapezoid with rounded corners beneath the snout to form the lower jaw.

3. Erase portions of the top of the head. Draw a curved line across each opening, forming the base of the antlers. Then, enclose the ears using two curved lines for each, meeting at a point at the tip. Draw a curved line across the top of the ear to give it a three-dimensional appearance.

4. Draw the elk's antlers. Use a long, curved line to draw the bottom of the antlers. On top, use multiple pairs of curved lines that meet at upward-facing points.

5. Detail the elk's face. Use curved lines to enclose the teardrop-shaped eyes. Draw several successively smaller circles within each eye. Contour the face by drawing curved lines above the eyes. Next, draw the neck. Extend curved lines beneath the head. Connect them with a series of curved lines that meet at jagged points. Draw a second series of these lines within the bounds of the neck, affording the appearance of fur.

6. Begin to sculpt the elk's body. Use overlapping curved lines to draw the shoulders, back, hips, and tail. Then use curved lines to draw the rear leg, noting the pointed ankle. Enclose the foot or hoof using curved lines. Notice the "U" shaped lines at the tip that indicate the cloven, or split, hoof.

7. Use a curved line to draw the belly. Beneath this, extend two curved lines to form the remaining rear leg. Connect them at the end, then use additional curved lines to enclose the teardrop-shaped hoof.

8. Use two long, curved lines to draw the foreleg. Enclose the end of the leg using rounded "V" shaped lines to form the toes. Draw a curved line across the tops of the toes to indicate the hoof.

9. Use a series of overlapping curved lines to draw the elk's chest. Then, use curved lines to draw the remaining foreleg, passing behind the first. Don't forget to draw a curved line across the foot to indicate the hoof. Finally, draw a series of curved lines that meet at jagged points across the chest, giving the texture of fur.

Color your cartoon elk. Elk are generally brown or grey in color, though they may occasionally be white.
Oh, deer! Fill your forest with woodland friends with the help of our animal drawing guides.
Printable Drawing Tutorial
MEMBER TROUBLESHOOTING
Still seeing ads or not being able to download the PDF?
First, check that you're logged in. You can log in on the member login page.
If you're still not able to download the PDF, the likely solution is to reload the page.
You can do this by clicking the browser reload button.
It is a circular arrow-shaped icon at the top of the browser window, typically found in the upper-left side (you can also use keyboard shortcuts: Ctrl+R on PC and Command+R on Mac).
Source: https://easydrawingguides.com/how-to-draw-an-elk/
0 Response to "How to Draw an Elk"
Postar um comentário